If your car already has a single-DIN size radio it should be possible to replace it with a DAB radio for reception of digital radio stations. This is often a fairly simple upgrade which can be done at home or inexpensively by a professional installer.
There are advantages to using an aftermarket radio rather than a DAB adapter. There are no trailing wires on the centre console and dashboard and the 12V socket is also kept free. Aftermarket stereos often have USB sockets, aux-in sockets, Bluetooth and hands free calling. They can also be used with an amplifier and kits are available to retain the use of steering wheel controls.
In this guide
Choosing a new DAB car radio
When choosing any new digital radio it’s important to check that it receives DAB+ radio stations. Look out for the digital radio tick mark on new radios, or for the DAB+ logo on older radios.
One of the first choices to make with a new DAB stereo is whether to go ‘mechless’ or not. An increasing number of DAB car stereos don’t come with a CD player – i.e. don’t have a mechanical drive, so are ‘mechless’. With USB sockets, aux-in connections and Bluetooth for music streaming you might not miss a CD player in your car. But if you still carry CDs in the car do check that your new device does play CDs.
Most DAB radios do now have a USB socket for playing music files. The MP3 format is widely supported and FLAC support is starting to appear on more stereos. Bluetooth is another option and some stereos come with a microphone to use for handsfree calls.
You might need to choose a DAB aerial too. Some DAB radios come with an aerial in the box, while some DAB adapters come with a specific aerial which is only suitable for that model. We have been impressed with the Autoleads DAB-AA1, although you can choose from magnetic mount antennas and roof mounted aerials too.
It’s a good idea to take care when removing the old radio. If the radio, front panel, trim surround and radio cage are kept in a good conditoon the radio can be used again. Should you sell your car in a few years you could swap the radios again and keep the DAB stereo for your new car.
Alternatives to replacing the radio
You don’t have to replace the existing car radio to start enjoying DAB in your car. Adapters which receive digital radio stations and make them come through your existing car radio are available. Options include the Majority Journey, Sonichi S100 and Pure Highway models. These adapters can be used with an aux-in socket in the car or transmit on an FM frequency.
For cars which have space for a double-DIN radio you could consider one of these too. They tend to be more expensive than a single-DIN radio, but some models come with touch screens, Android Auto and Apple CarPlay.
Some cars can be fitted with a DAB adapter which is hidden in the dashboard and is controlled with the steering wheel buttons.
For cars with existing radios which are not already single-DIN or double-DIN in size, we have a guide on replacing a factory fit radio.
How to install a DAB car stereo
1. Preparation
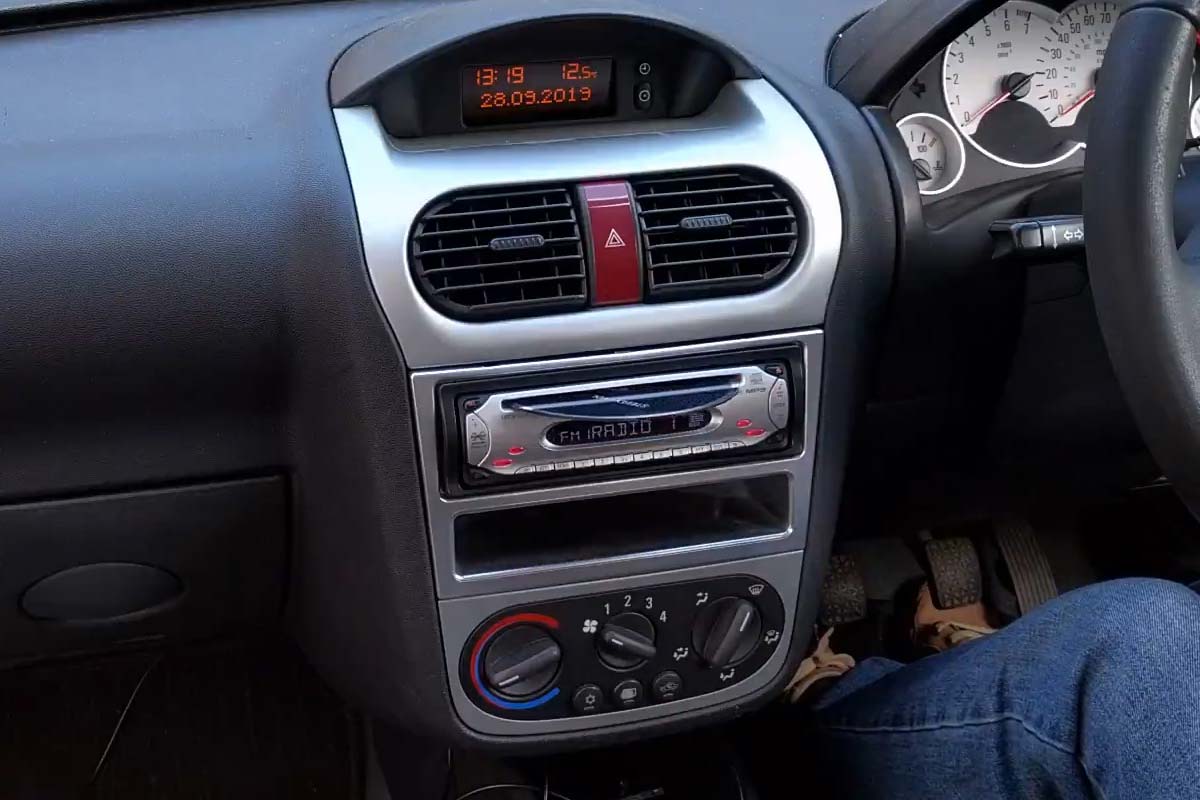
Before installing a new DAB radio the old stereo needs to be removed. It’s worth checking that the old one does receive FM and AM stations. Also check that a CD hasn’t been left inside the stereo. If it’s a ‘face off’ type of radio the front panel should be removed.
The plastic trim around the radio can be removed. Carefully push on the frame where the tabs lock into the radio.
2. Remove the old stereo
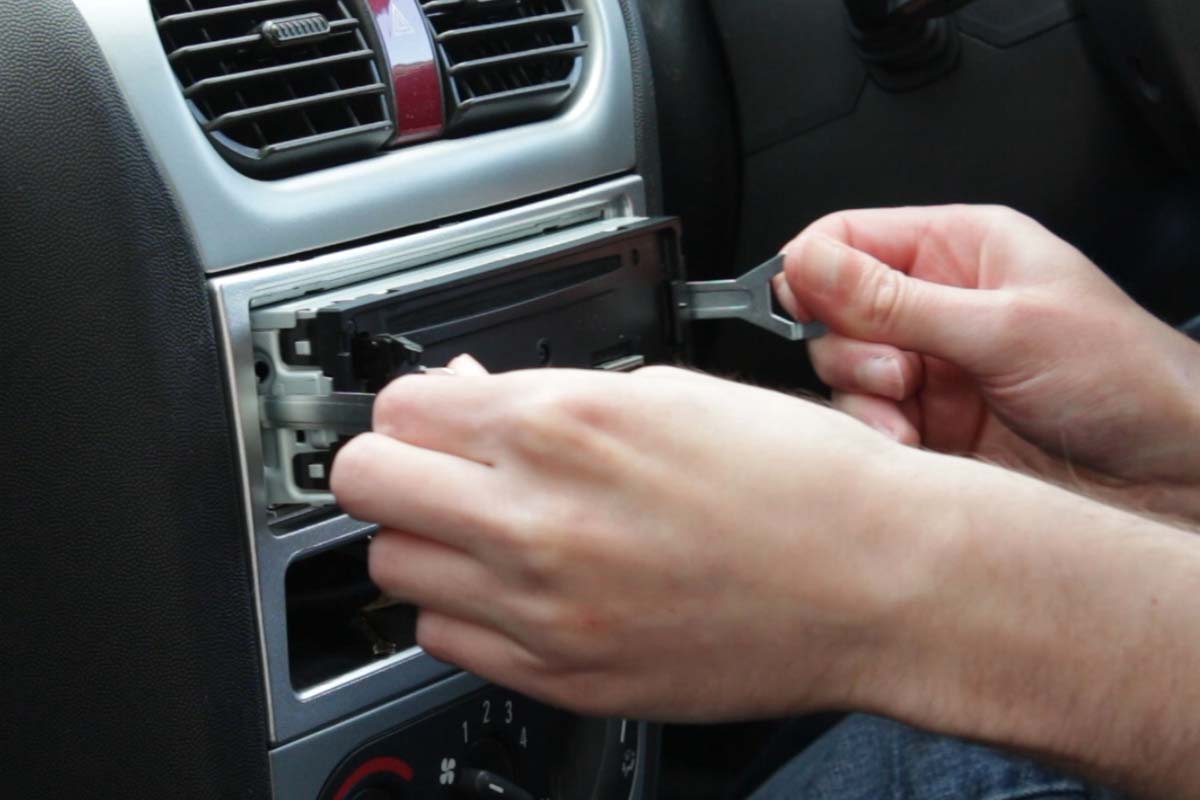
Now the radio needs to be removed from the mounting cage which holds it in the car. This is done with removal keys. These would come with the old radio when it was installed, but if you don’t have them you can buy replacements. The keys are specific for the brand of radio.
Make sure the power to the radio is switched off first. The keys slide down the left and right side of the radio until they click in place. If the key doesn’t click try removing it and turning it over. Once the keys are clicked into place they can be pulled backwards to pull out the stereo.
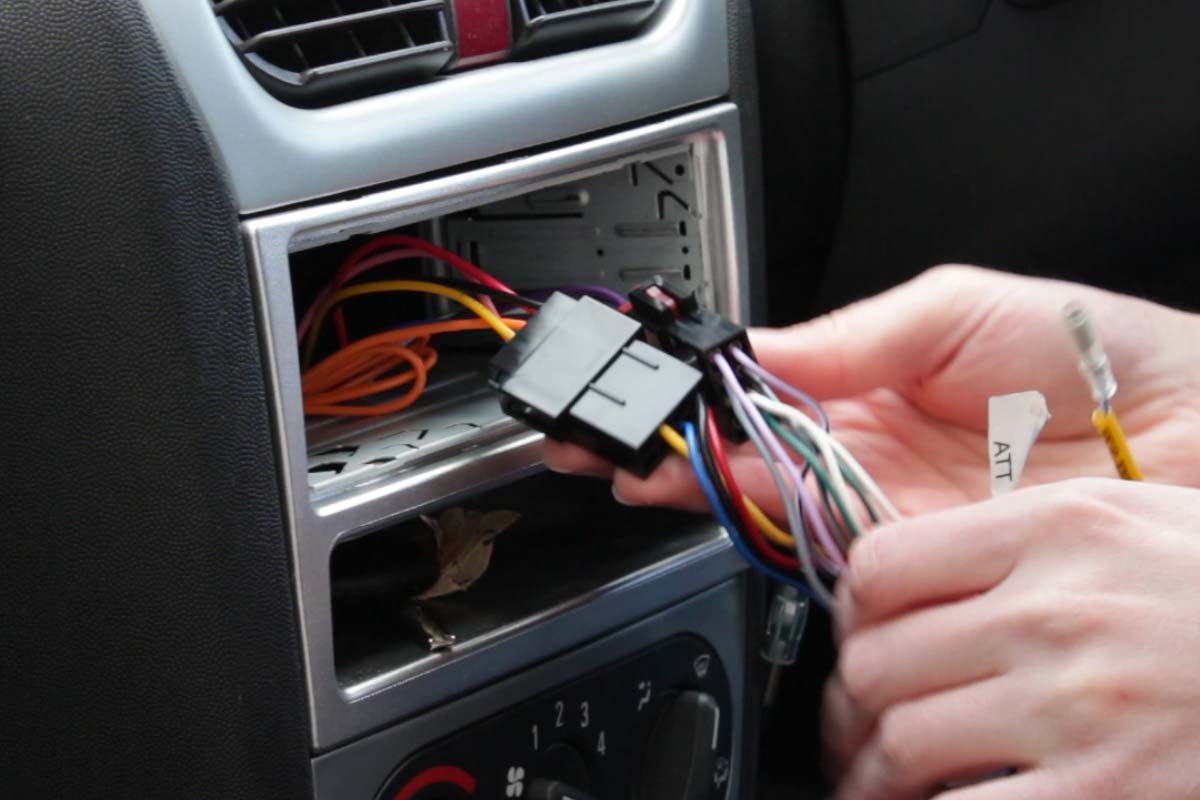
3. Unplug the old stereo
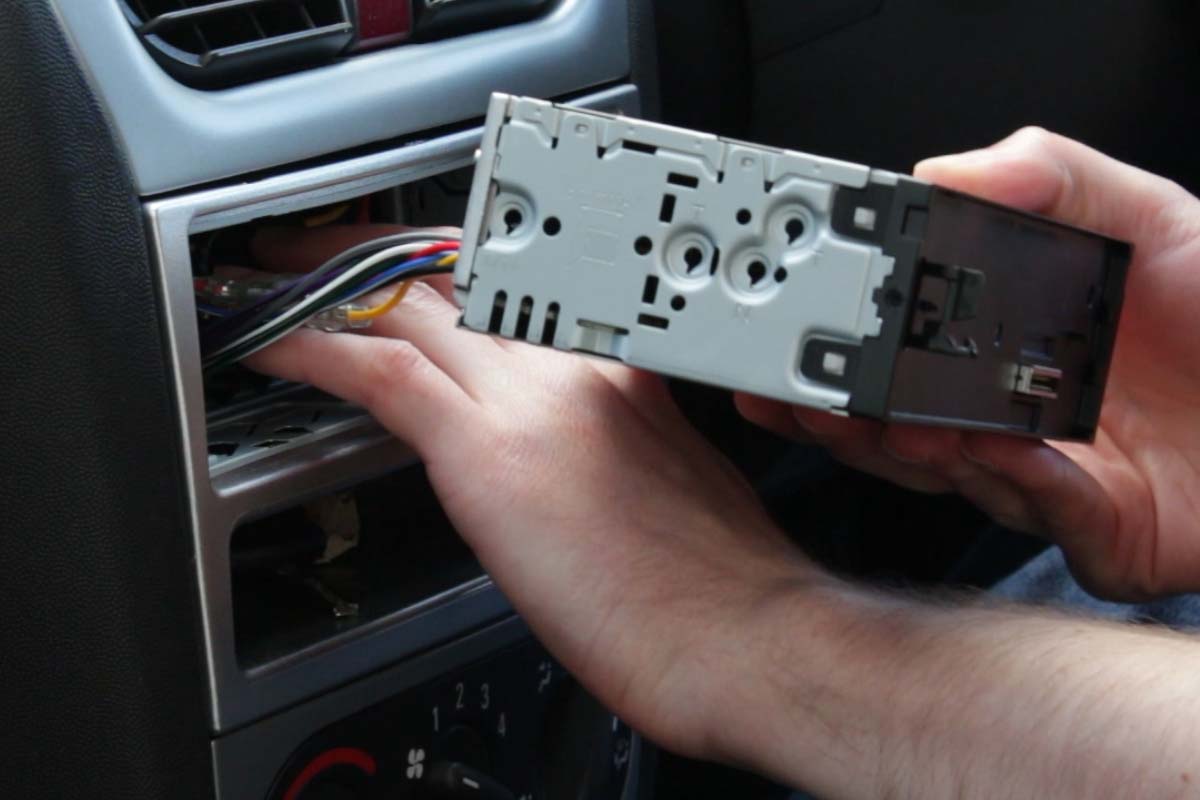
The aerial and plugs can be removed from the back of the old radio. The old radio used a specific cable to convert to a Sony plug from the standard radio plugs – this needs to be unplugged too.
If you don’t see standard ISO connectors, or the wiring looks like it’s been modified, you might need to get an adapter or make some repairs first. Cars from the 80s and early 90s might have a single-DIN radio but a manufacturer specific connector – it’s worth searching online to see what adapters are available.
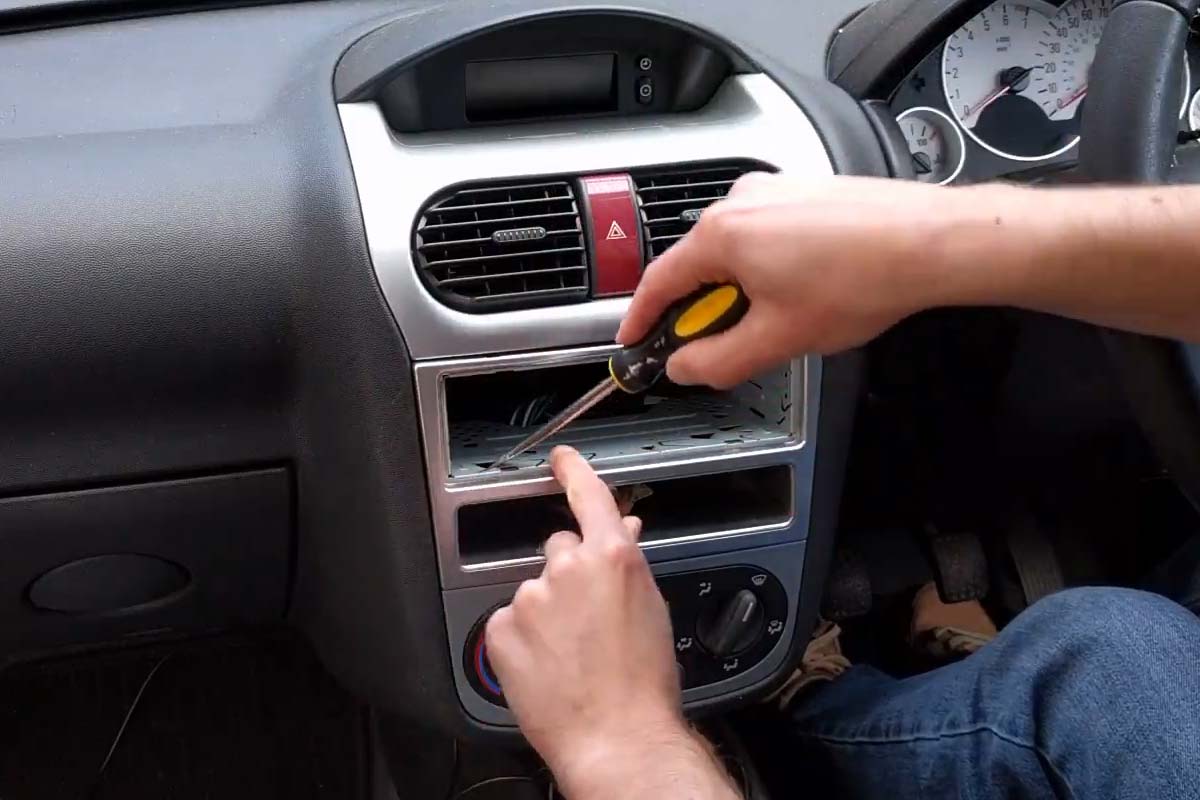
4. Remove the old mounting cage
Next the cage needs to be removed. Although we are replacing one Sony stereo with another, the new one is a different depth. The tabs which hold the cage in place are carefully prised up with a screwdriver. We might want to use the old radio again or sell it, so it’s worth taking care with the parts that are removed.
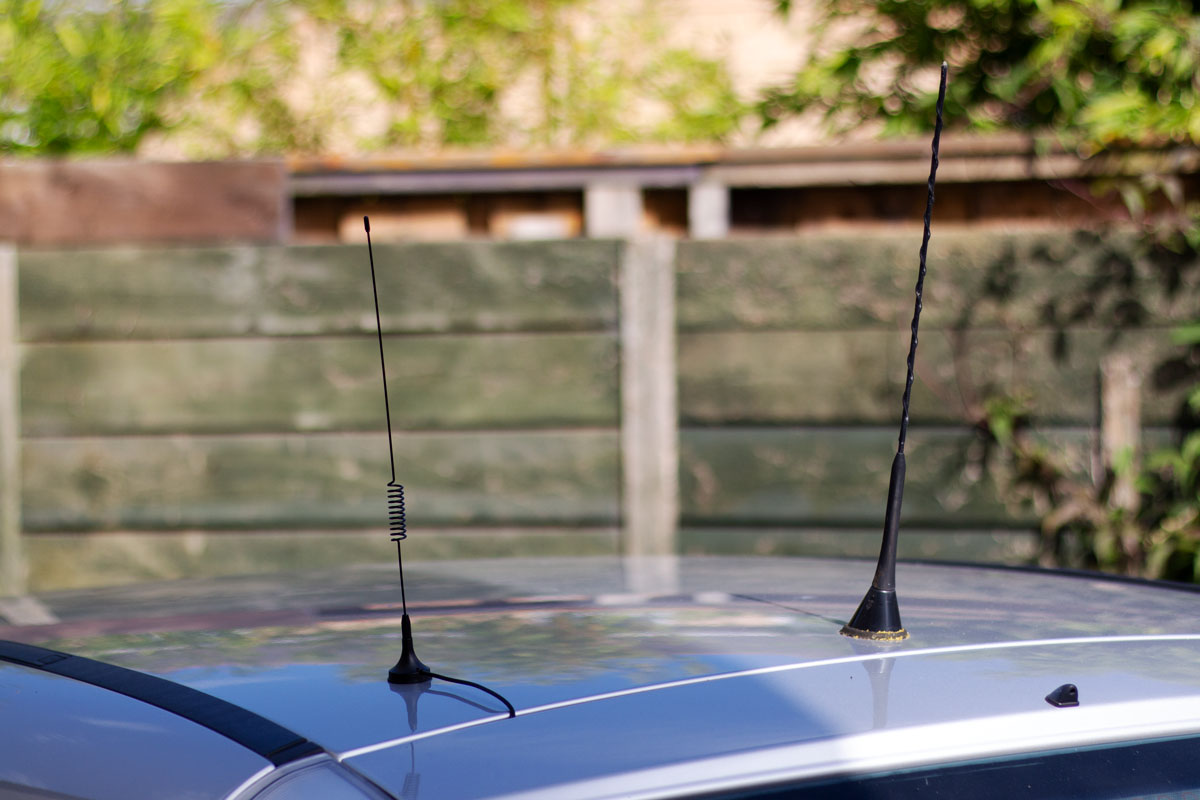
5. Install the DAB aerial
If you haven’t already installed the DAB aerial for your new radio this can be done now. The new radio might have come with one in the box or you could buy a DAB aerial.
This guide doesn’t cover fitting an aerial, but we have separate guides on DAB windscreen aerials and magnetic mount DAB aerials.
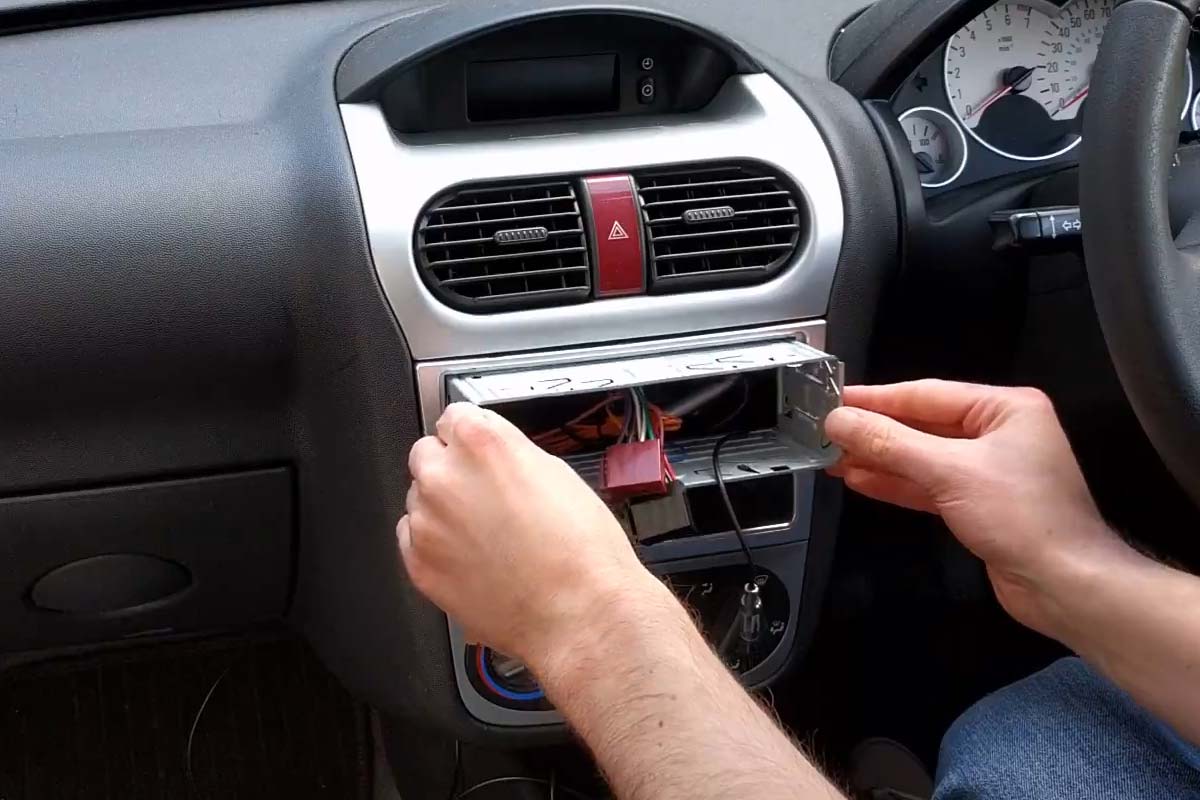
6. Install the new cage and wiring adapter
Now the new cage can be installed. This pushes into place and the tabs are folder out with a screwdriver. Insert the flat bladed screwdriver into the tab and twist by 90 degrees. The tab will fold out. This is easier than trying to push the tabs out.
The wiring adapter which came with the new radio can be plugged into the car. One of the plugs is for speakers and the other is for power. If your car has steering wheel controls you might be able to get an adapter to keep those working with the new radio.
7. Connect the new DAB radio
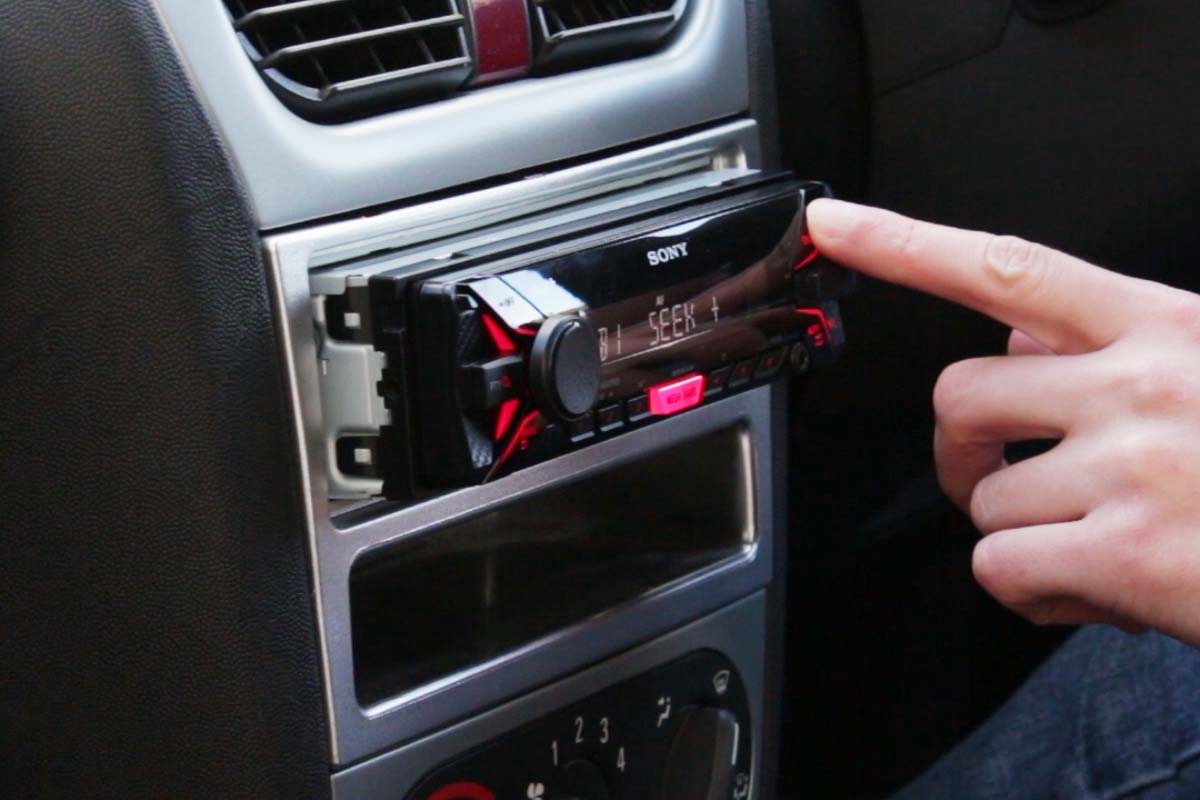
The FM/AM aerial, DAB aerial and wiring adapter are plugged into the back of the new radio. It’s then slid into the cage. Don’t push it all the way back yet incase something doesn’t work. The front panel is then attached and we’re ready to turn on the ignition.
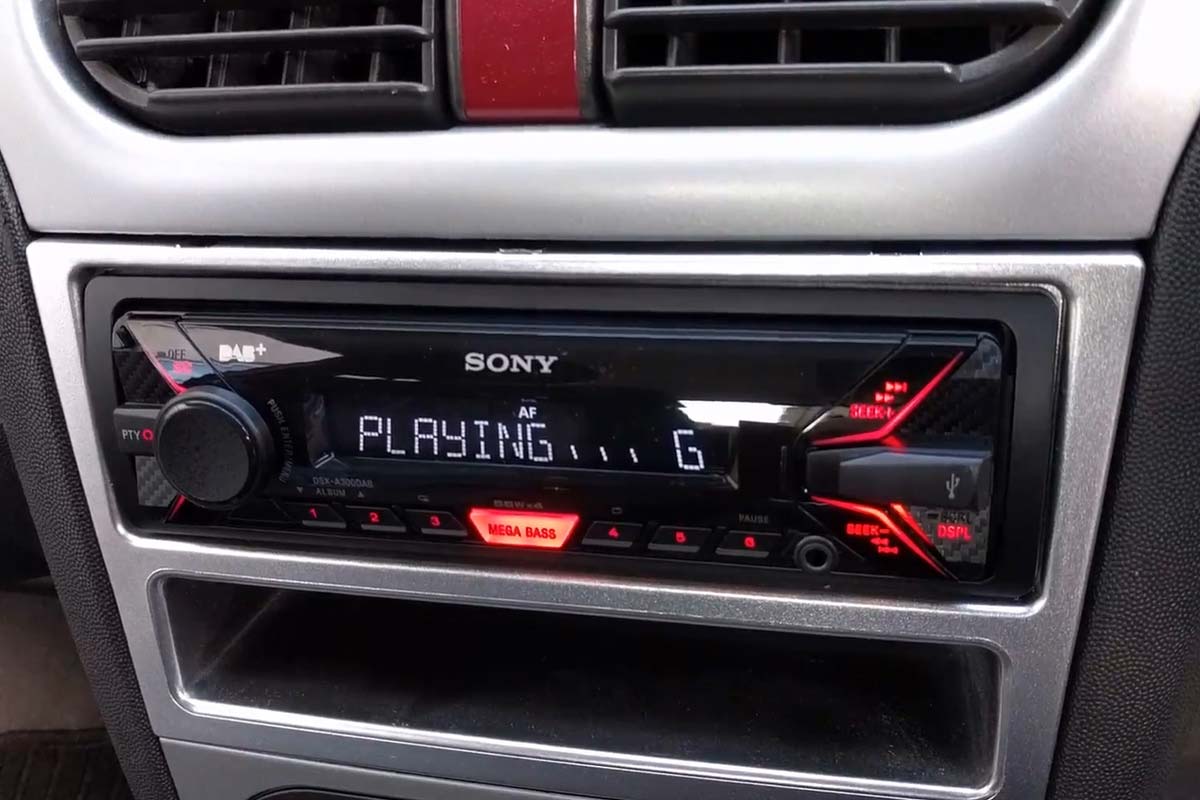
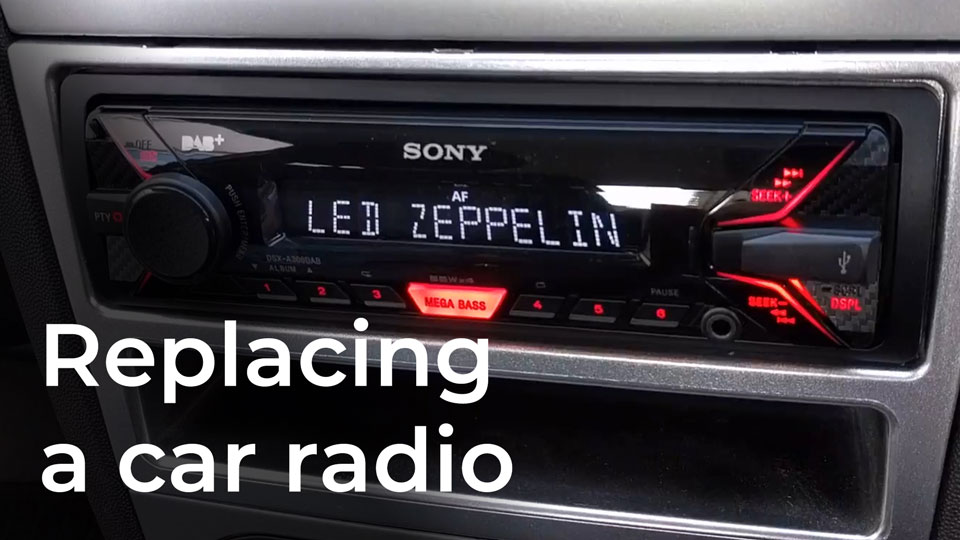
When the new radio is switched on for the first time it should initialise, but you might need to scan for DAB stations. After a few seconds the new Sony unit tunes into a digital radio station. Check that you can browse DAB stations and that all the speakers are working.
8. Test the new DAB radio
Something we also need to check is that the radio is powered correctly. This can be done by setting some presets on DAB and FM. Turn off the ignition and remove the key. Turn the ignition back on and check the presets. If they have disappeared and the radio initialises again it could be that the switched live and permanent live are the wrong way around. The wiring adapter has bullet connectors on these wires so that can be swapped over, if required. The manual for the new radio will have more information on this.
9. Finish the installation
Everything is working on our radio so we can push it all the way into the cage until it clicks. This is quite easy with the new radio as it’s not very deep. If your radio meets some resistance don’t keep pushing it in – pull the radio back out and check that no cables are getting caught or are in the way.
The trim can be added around the radio to hide the edge of the cage. Finally the front panel can be inserted again and the radio is ready to use.