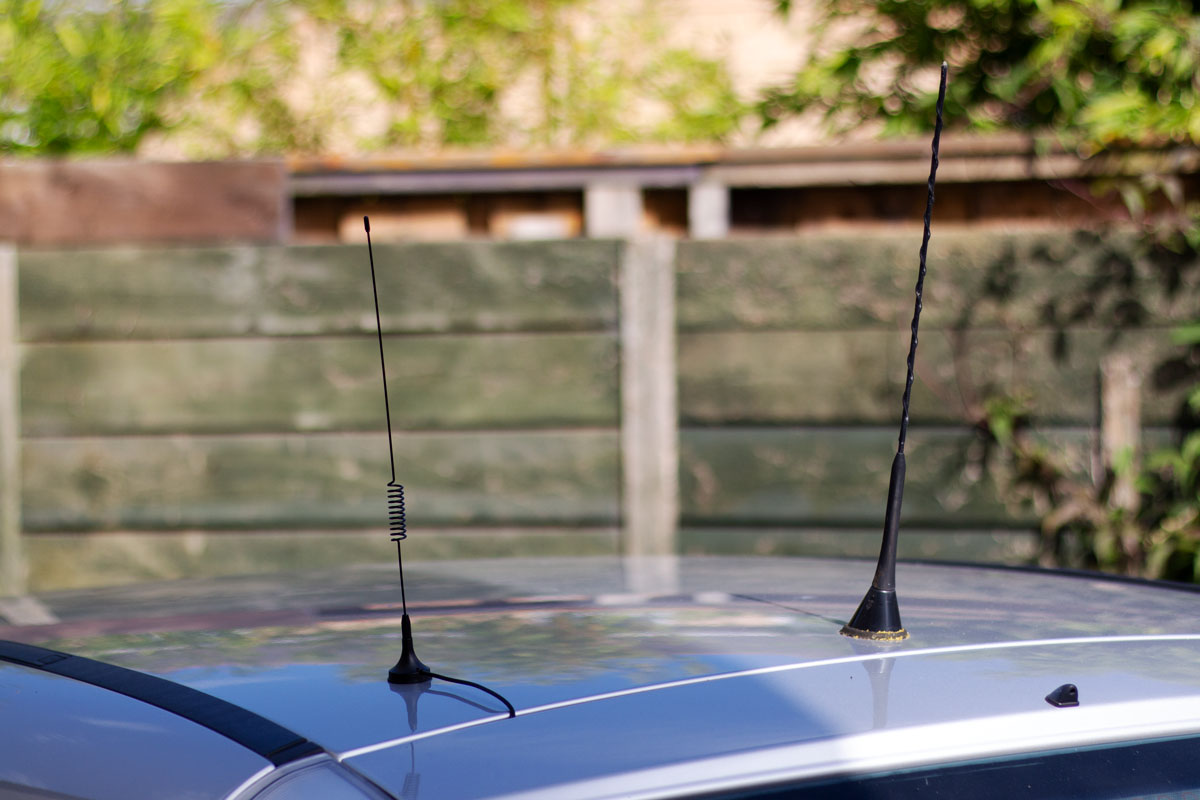
Magnetic DAB digital radio aerials are a great choice for cars and vans. They’re fairly easy to install and generally perform better than internal windscreen antennas. A magnetic DAB aerial also has the benefit of being installed in a high position, such as on the roof of a car or van.
In this guide
- Choosing a DAB windscreen antenna
- Other options for DAB aerials
- How to install a DAB windscreen aerial
- Deals on magnetic DAB antennas
Choosing a magnetic DAB aerial
Like a DAB windscreen aerial, magnetic aerials don’t need any new holes in the bodywork. The cable will need to go through a door or boot-lid opening though. A magnetic aerial is also a good choice when you don’t want to remove a part of the car’s interior, as is required for a windscreen aerial. The magnets are strong and the instructions should specify the maximum speed at which the car can be driven with the aerial. The aerials we have seen can be used up to 80mph or higher.
A magnetic aerial can be removed from the car quite easily too. This is useful if you don’t want to make an installation permanent or frequently change your car. Although the mast can be unscrewed from the base it’s just as easy to remove the whole aerial and put it inside the car for car washes and garages.
Before buying the aerial check if your radio comes with one in the box. Many DAB adapters, like the Pure Highway models, include a specific aerial for the device. Some DAB adapters and many car stereos don’t come with one, so you’ll need to choose an aerial.
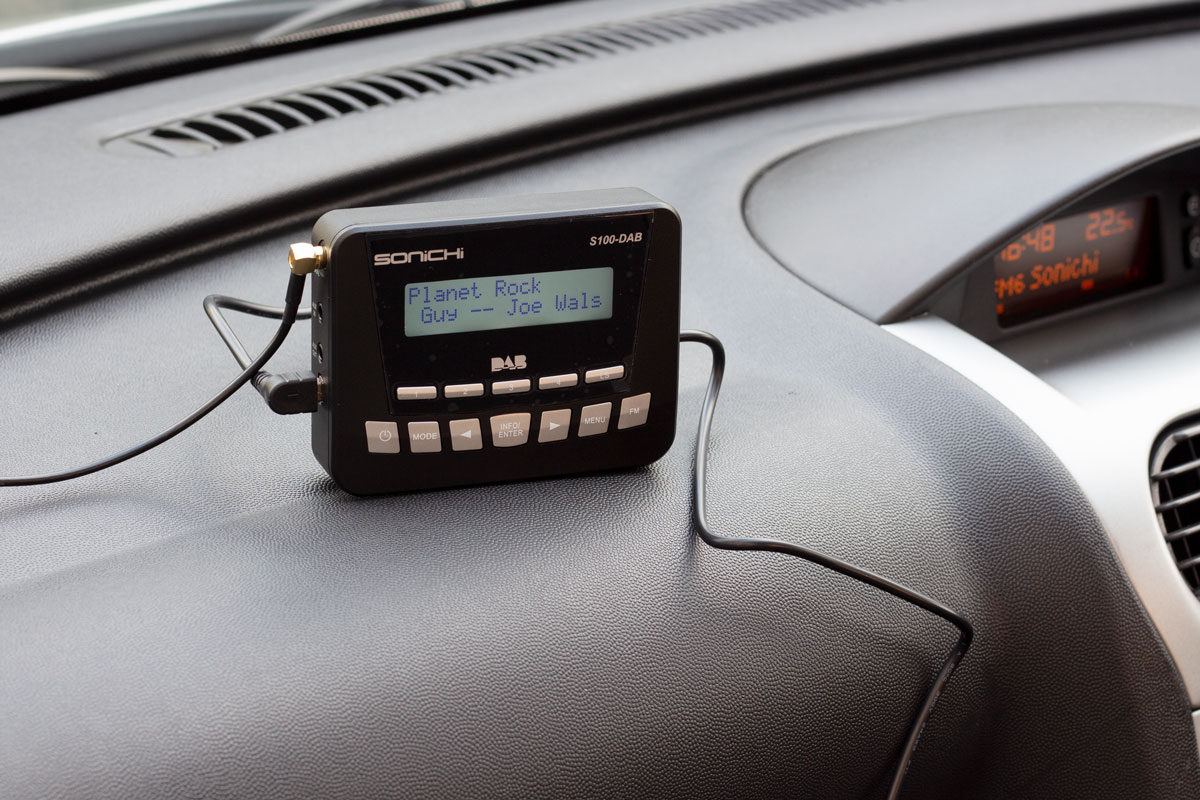
If you’ve already bought the radio or adapter check which type of aerial connector it has. Common types are SMA, which is a threaded connector, and SMB, which is a push-on connector. In the installation example below we use an Autoleads Magnetic Mount DAB Antenna and a Sonichi S100-DAB adapter. These both have SMB connectors. You can buy an adapter to switch from SMA to SMB and vice-versa if required.
Most people can tackle the installation of a magnetic DAB aerial at home. Be careful when bringing the cable into the car as choosing the wrong location could damage the cable or allow water into the vehicle.
Other options for DAB aerials
There are other options when choosing a type of DAB aerial. A DAB windscreen aerial is also easy to install and often the cheapest to buy. Once installed the aerial can’t be transferred to another vehicle.
Replacing the existing aerial is a good option on some cars, particularly when the aerial is at the rear of the car. But, replacing an aerial is the most expensive and time-consuming option. On older cars you could use a splitter, but these convertors are not compatible with some aerials.
How to install a magnetic DAB car aerial
1. Preparation
Before getting started it’s worth removing the aerial from its packaging and checking it’s not bent or damaged. It’s also a good time to unwind the cable to make it easier to route the cable to the radio or adapter.
Check the connector on the aerial is compatible with that on your car stereo or DAB adapter. You can buy a convertor to change from SMA to SMB if needed.

2. Choose a location for the aerial
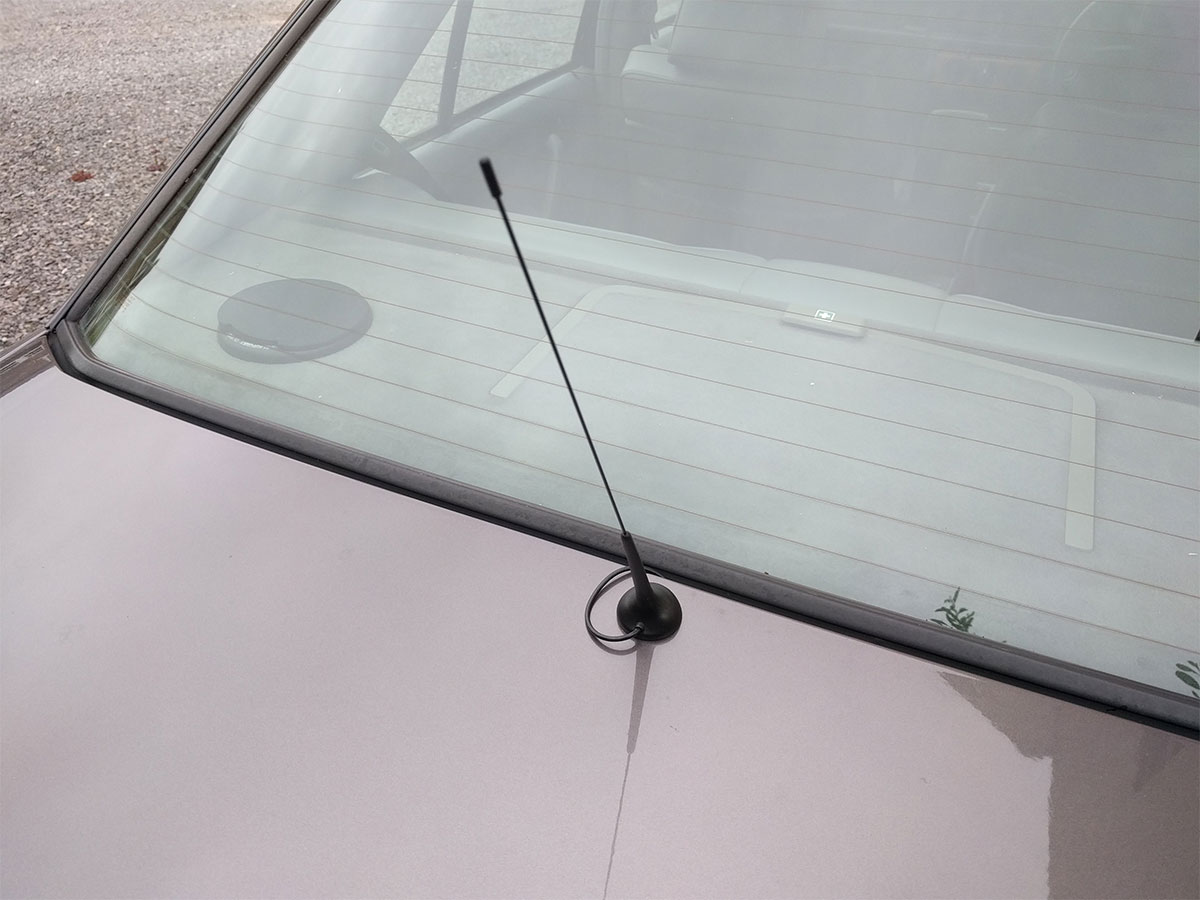
The aerial needs to be placed on a flat surface, such as the roof of the car. You could choose a spot at the front of the car and route the cable through the passenger door opening. On a small car you could put the aerial near the tailgate.
If you have a saloon car you could also place the aerial on the boot lid – as has been done with an angled DAB aerial on this Mercedes. This angled aerial doesn’t touch the rear window when the boot is opened.
To help the aerial work as best as possible it needs to be away from existing aerials, roof boxes or bicycle racks. The aerial should not be up to the edge of the roof or a panoramic glass roof if possible.
3. Place the aerial on the car or van
With the location chosen make sure the bodywork is clean and dry. It’s important not to trap any dirt or debris between the magnet and the surface. With the cable facing the rear of the car, carefully place the magnet on to the bodywork. Once it has attached to the roof don’t drag it as this could scratch the paint. Instead carefully lift the aerial and place it again.
The cable should face the rear of the car to help prevent water ingress when the car is driven in the rain.
Trail the cable from the aerial to the radio to check it’s long enough. You can also see where it will need to be tucked and if any trim needs to be removed. If you can it’s worth testing the aerial now before finding out it doesn’t work after fitting it properly.
4. Route the cable to the radio
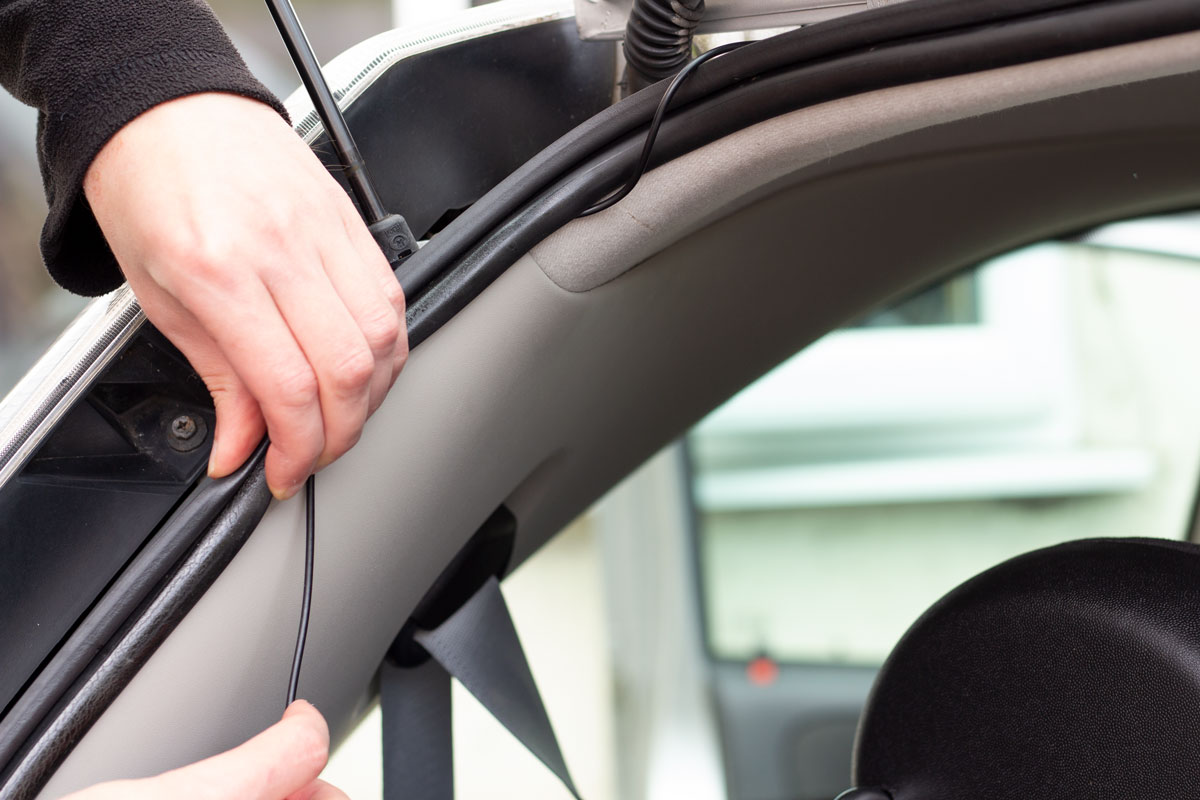
The cable will need to enter the car through a door opening. The cable should tuck behind the door seal and down to a suitable point to bring it in to the car. This will depend on your vehicle and which door you choose to use.
In this example the cable is brought in to the car on top of the door seal. In various cars we’ve seen using this approach there has been no water ingress after several years. However, some online reviews have mentioned water entering the car when driving in the rain.
Close the door and inspect the cable on the inside and outside to check it’s not being squashed or damaged.
Some car owners have routed the cable behind the seal, but this could introduce a kink in the cable over a fairly sharp edge.
If you’re not sure it’s worth speaking to an audio installation specialist, or see if anyone with the same car at an owners club or forum has also installed a magnetic aerial.
5. Plug in the aerial to the radio
Continue routing the cable behind trim pieces and carpets until you reach the dashboard. At this point you could route the cable behind the glovebox for an in-dash radio, or continue under the trim to the centre console for a DAB adapter.
The SMB connector on this Autoleads aerial can now be plugged into the radio. The magnetic aerial does not need power from the radio, so you can scan for stations straight away.
Put all the trim pieces back in place and tidy up to finish the installation.