Installing a DAB adapter is a quick and easy way to upgrade your car for digital radio reception.
Digital radio adapters work with your existing car radio. They pick up digital stations and transmit them over FM or through an audio cable to your original radio. Some adapters come with Bluetooth for music streaming and hands-free calls as well as DAB reception.
The main advantage of a DAB adapters is that you don’t need to change your existing radio. Some come with everything you need in the box, such as the adapter, a windscreen aerial and the cables. If your car can be easily fitted with a new radio in the dashboard this might be a better option than an adapter.
In this guide
- Choosing a DAB adapter
- How DAB adapters work
- Alternatives to car DAB adapters
- Install a DAB digital radio adapter in a car
Choosing a DAB adapter
There are many in-car DAB adapters to choose from with prices starting at around £25.
The first choice to make is whether you only need DAB reception or if you would also like Bluetooth. Some devices can stream music from your smartphone over Bluetooth, which could be useful for listening to songs or podcasts. Another feature in some adapters is hands-free calls with a built-in or extra microphone. Not all devices with Bluetooth come with both functions, so it is worth checking.
Adapters come as complete kits or individual units. A complete kit will include the adapter, a suitable aerial and other fixings and cables. Some adapters, like the Sonichi S100-DAB, don’t come with a DAB aerial and you’ll need to buy one separately. You might prefer a complete kit for an easier installation or better manufacturer support. But if you plan to use a magnetic aerial due to the DAB coverage in your area a standalone adapter could be better.
It’s worth considering where you will put the adapter for you to pick stations while driving. Some adapters come with a power cable, allowing you to place it on the dashboard. Others plug directly into the 12V socket. If your 12V socket is between the seats or in a pop-out ashtray you might not be able to plug in the adapter. It would also be difficult to use while driving. The Pure Highway 600 has a wireless, battery powered controller which provides more flexibility.
How DAB adapters work
Digital radio adapters receive DAB stations and send the audio to the existing stereo. This is normally done by retransmitting the digital audio over FM. The car radio is tuned in to a specific frequency (e.g. 87.7FM) that the adapter transmits on. Some adapters also have an auxiliary output with a 3.5mm audio socket. If your car radio has an auxiliary input this connection can be used to provide better sound quality.
The adapter requires a suitable DAB radio antenna. Many come with one in the box. This must be installed for the adapter to receive digital radio stations.
Although adapters may ‘upgrade’ your car to receive digital radio they don’t physically change your existing radio.
Alternatives to car DAB adapters
Although in-car DAB adapters are quite easy to install there might be better options for your car. This is particularly true if you already use a dash cam, satellite navigation or phone cradle on the dashboard or windscreen. Some car owners might also prefer not to have devices on display for security reasons.
If the factory fitted radio in your car can be replaced this could be a better option. Many cars have a standard size slot known as single-DIN or double-DIN, depending on the size. A new DAB radio could be installed here. This is generally tidier but takes longer to install. New radios can be around the same price as an adapter but you may also need a fascia and wiring harness.
See our guide on replacing a factory fit radio.
If your car already has an aftermarket radio replacing this is likely to be a better option too. The wiring may already be suitable too. Some cars from the 80’s and 90’s came with a standard single-DIN stereo too.
In some cars it’s possible to keep the existing stereo by using a DAB interface. Stations are chosen with the steering wheel buttons or a remote control. The car’s existing displays will show the name of the station. The only visible part would be the DAB aerial, but these systems take longer to install and can cost more.
Install a DAB digital radio adapter in a car
1. Choosing an adapter
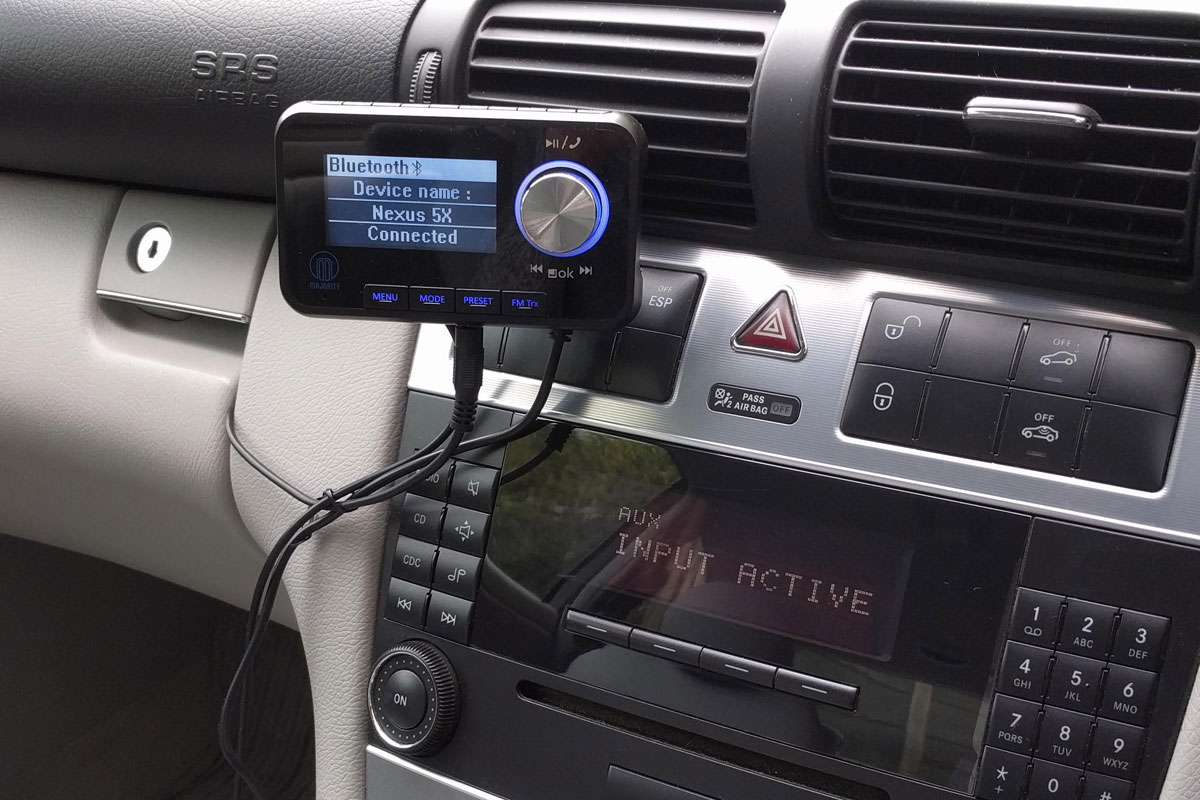
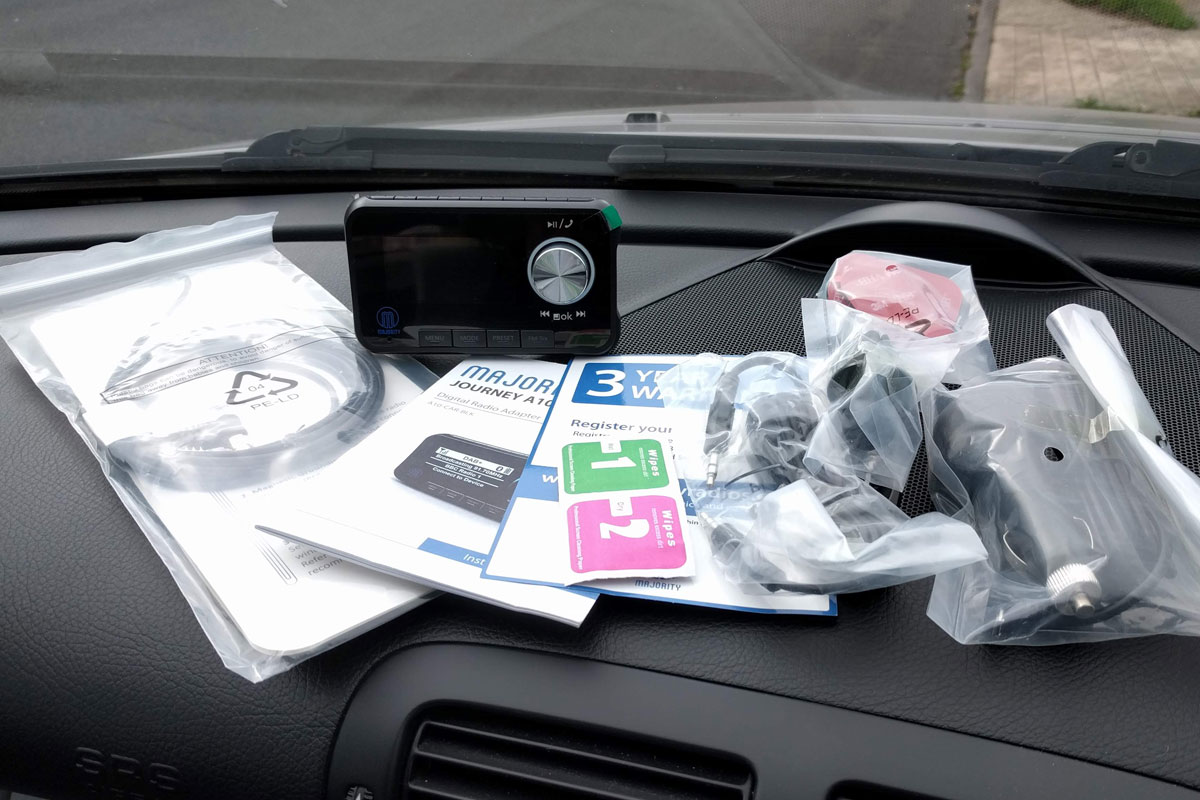
We’re going to install a DAB adapter in this Mercedes-Benz C-Class from 2004. It has a factory fitted radio with an aux-in socket. We have chosen a Majority Journey A10 which has everything required in the box, like some models from Nextbase and Pure.
The device has Bluetooth for music streaming and hands-free calls and comes with the digital radio tick mark.
2. Installing the antenna magnetic ground
This adapter comes with an antenna. If you need to install a separate antenna we have guides on windscreen aerials and magnetic aerials.
The antenna has a magnetic ground which needs to be attached to the car’s bodywork. This slides behind the roof headlining at the top of the windscreen. A tail is left exposed which is connected to the top of the antenna.
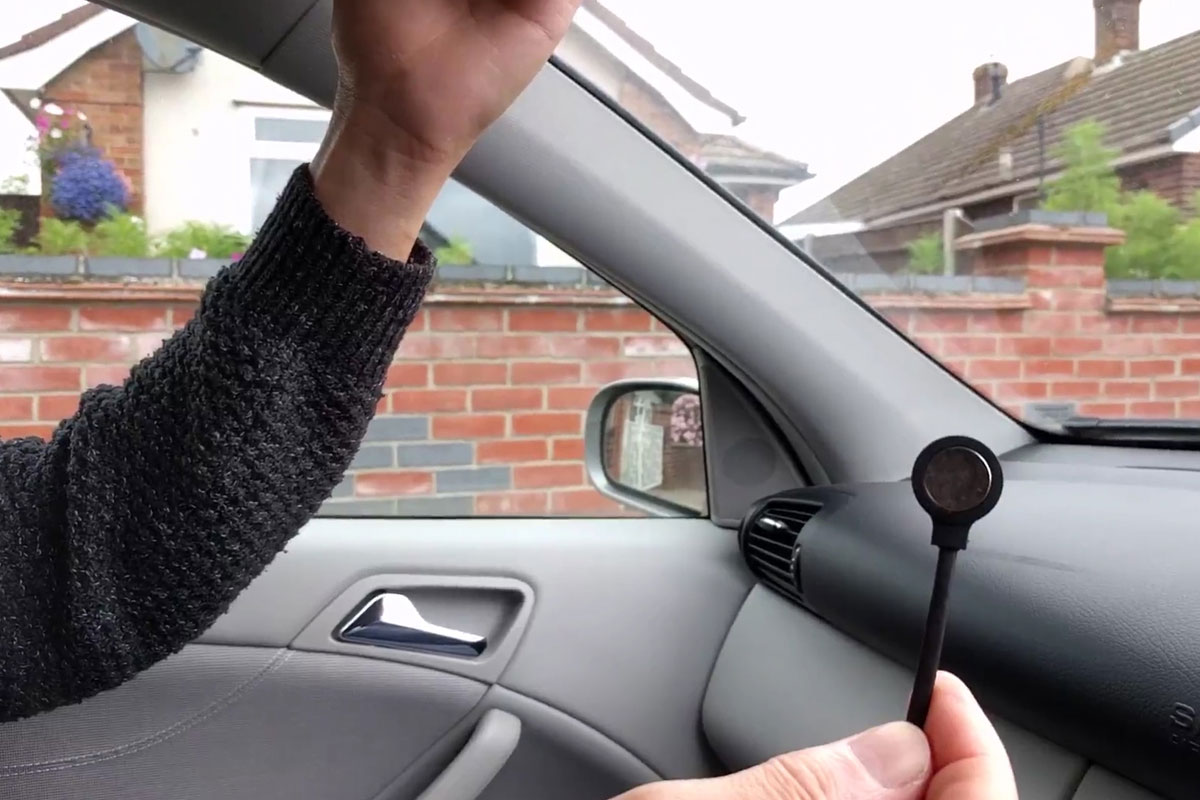
3. Connecting the antenna
The antenna can now be connected to the magnetic ground. On this adapter it is a push-on connection.
The other end of the cable is connected to the DAB adapter. This particular unit uses a twist-on SMA connector while some devices use a push-on SMB connector.
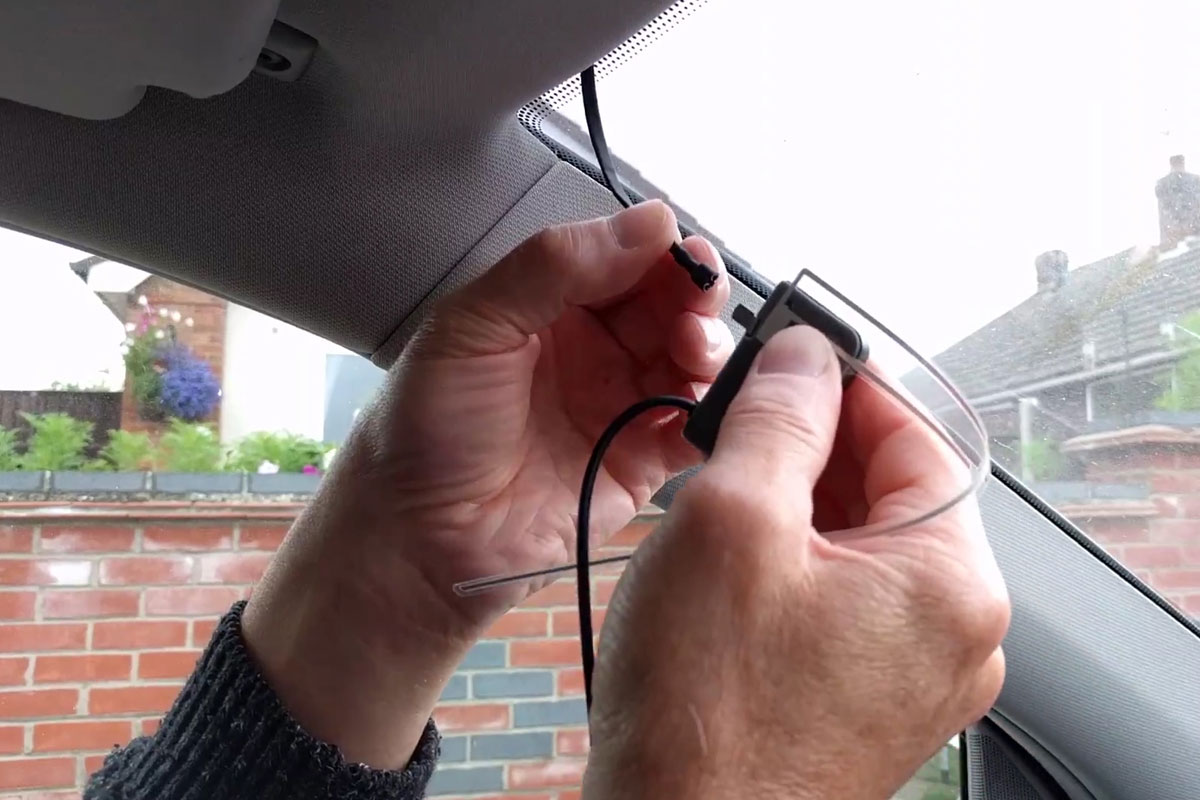
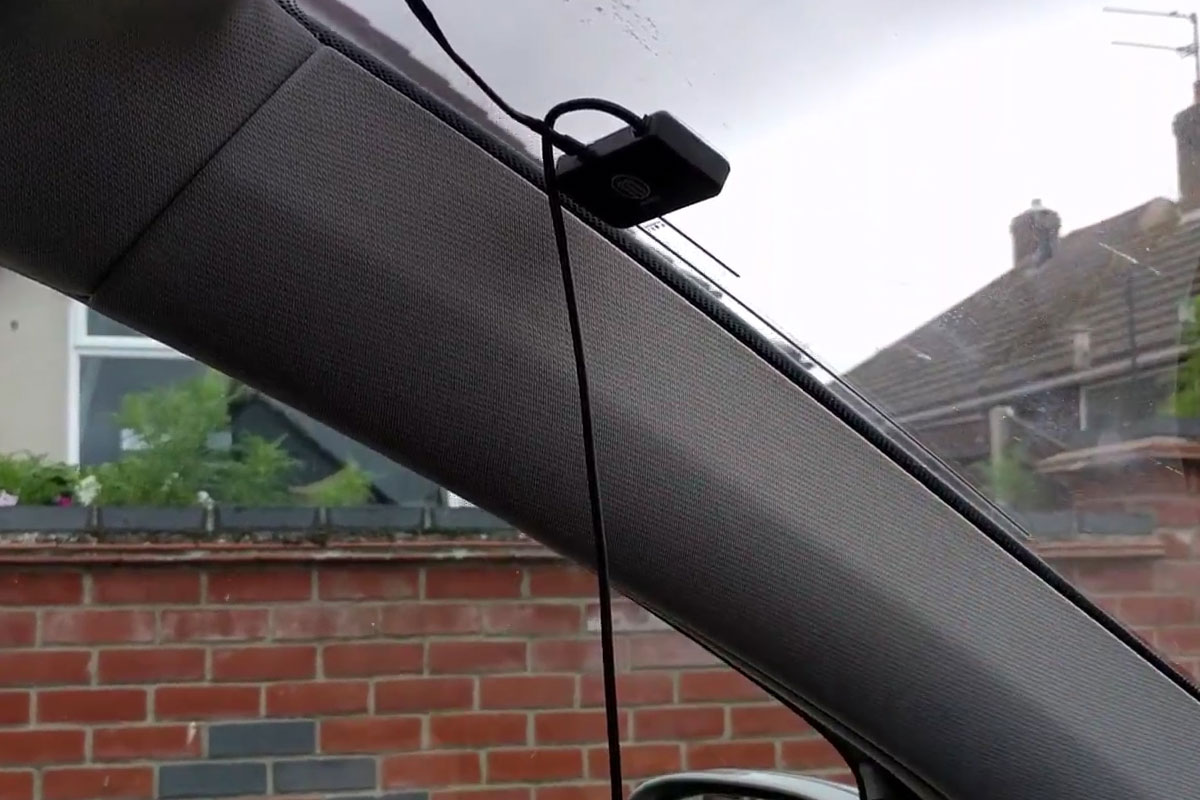
4. Install the film antenna on the windscreen
The self-adhesive film antenna can now be fixed to the windscreen. It should be placed on the opposite side to the driver to ensure good visibility. The antenna should also be installed where it won’t obstruct or affect air bags or mirrors. Don’t install the antenna too close to the A-pillar.
The windscreen should be completely clean and dry. Use windscreen cleaner if the adapter doesn’t come with its own wipes.
The cable can now be secured from the antenna to the DAB adapter. Some adapters come with sticky cable clips to help keep it in place.
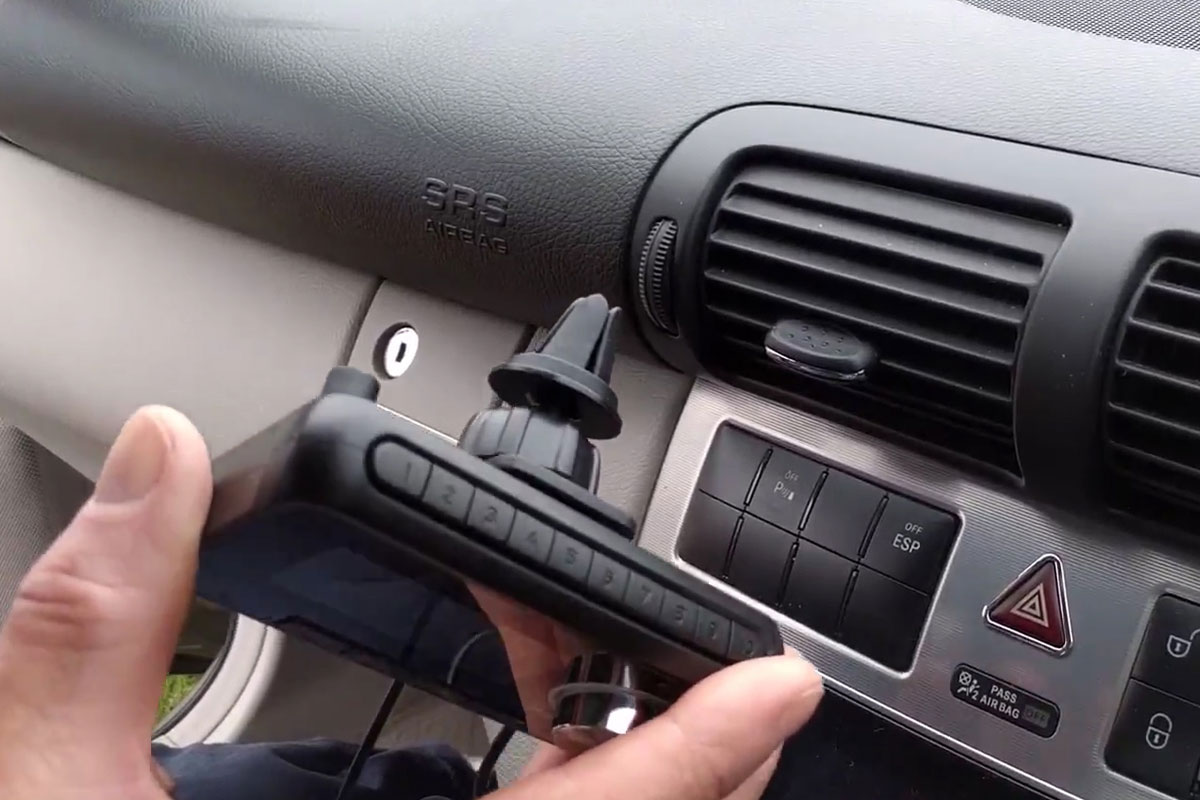
5. Mount the radio to the windscreen or dashboard
This adapter comes with different adapters so that it can be mounted on an air vent or the windscreen. The suction mount pushes on to the windscreen and stays attached after pulling down the locking lever.
We are going to use the air vent mount so that the adapter is closer to the driver. The adapter attaches to the air vent mount which is then pushed on to a fin in the vent.
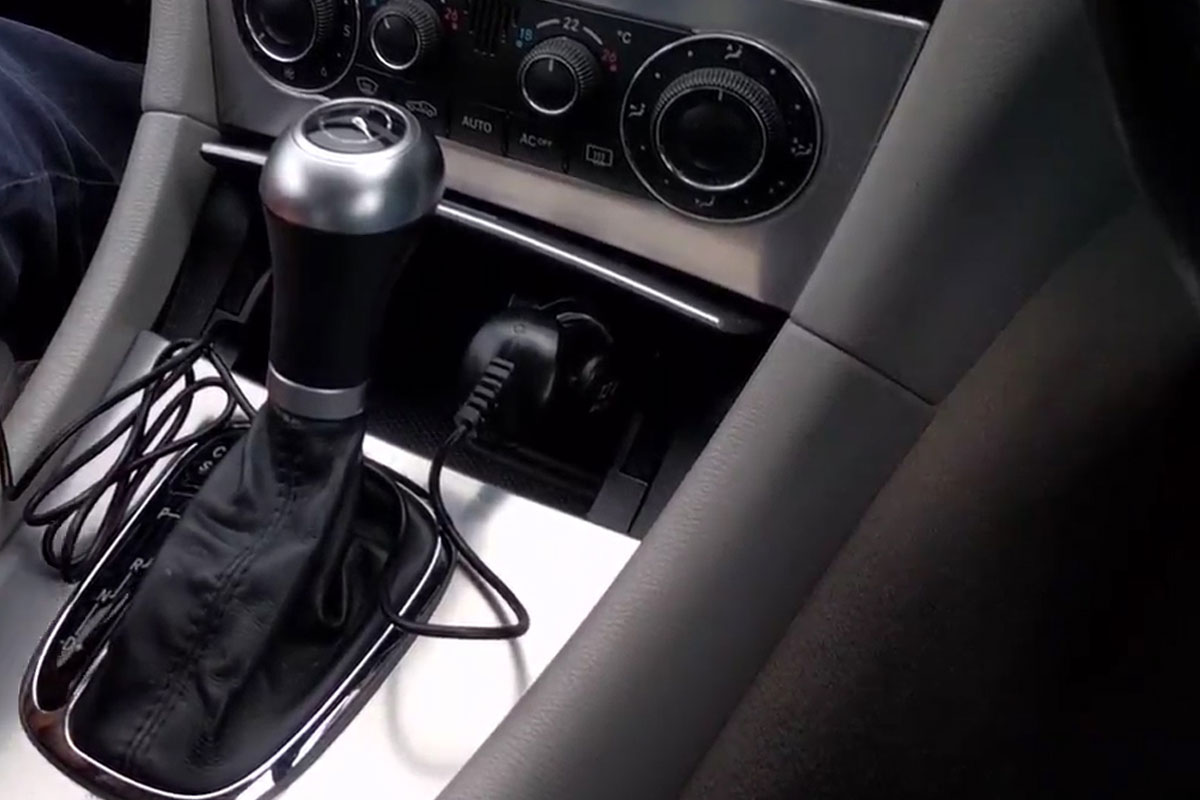
6. Plug in the 12V power adapter
After the antenna has been connected the DAB adapter is ready to switch on.
The supplied power adapter is plugged into the 12V cigarette lighter socket. The other end is plugged in to the USB socket. The included power adapter should be used rather than any universal USB adapters or leads.
When power is received by the DAB adapter it will switch on and start scanning for radio stations.
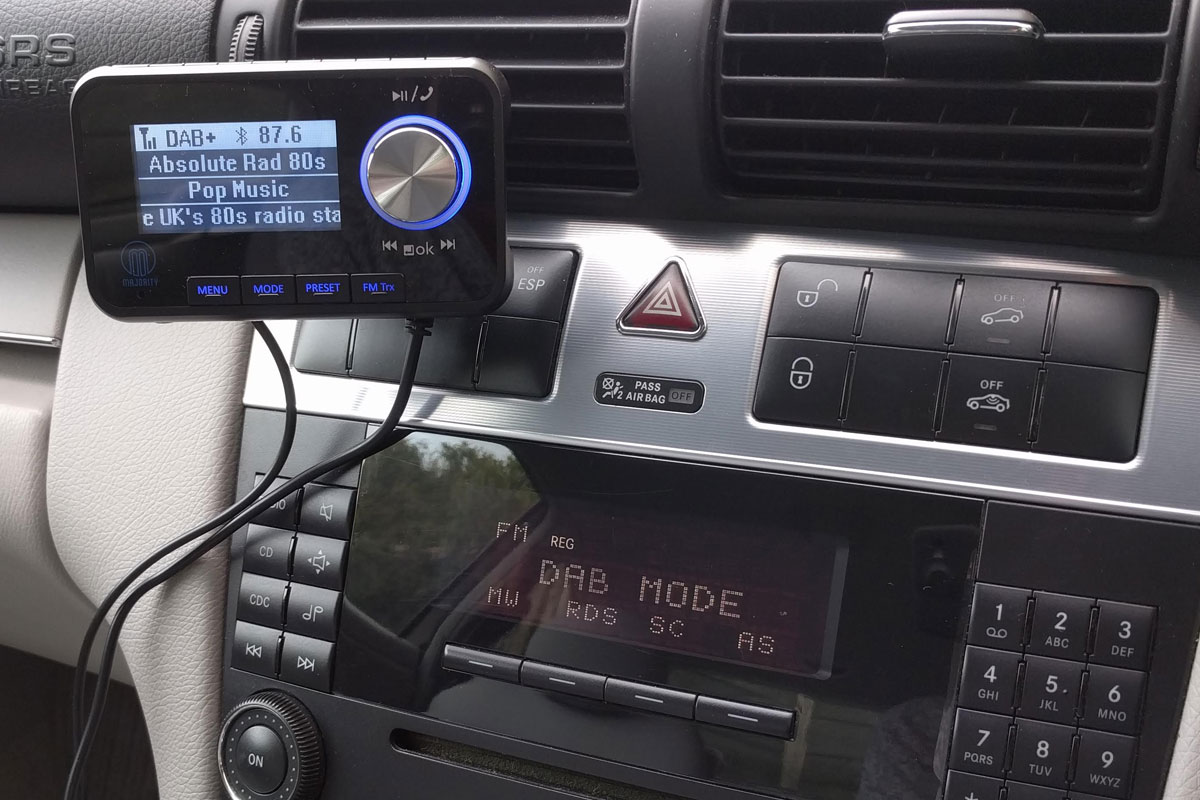
7. Connecting to the car stereo
This car has an aux-in audio input so we will use this for the best audio quality. The 3.5mm to 3.5mm jack cable is plugged in to the output of the DAB adapter and the input in the car. On the car stereo the auxiliary input can be selected to hear the digital radio stations.
For cars without an aux-in socket the DAB adapter can transmit on an FM frequency instead. The adapter can find an available frequency (i.e. one which is not already used by a radio station) and show the frequency on the display.
The car radio can be tuned into that frequency (e.g. 87.6FM) to hear the selected digital station.
8. Finish setting up the adapter
Now that everything is installed and connected a smartphone can be connected via Bluetooth.
Presets can also be saved for DAB radio stations. This will make it easier to switch between stations when on the move.